Studsvik Nuclear AB was founded back in 1947 and has since then operated within the field of nuclear technology. One of Studsvik’s focus areas are within material characterization, where they are the only privately-owned company in the world possessing a hot cell laboratory for irradiated nuclear fuel. It consists of seven cells with thick concrete and led glass walls. Here they conduct both destructive measurements, including cutting and chemical analysis, and non-destructive measurements such as visual inspection and length measurements.
“Choosing DVel AB was a choice we never regretted. The competence in the company is very high and they quickly got into the task. DVel also handled the procurement of third part equipment – such as multi spectral analyser, etc – which reduced the effort required from us. DVel produced a realistic time plan, which they managed to deliver on. Even the commissioning was managed according to plan, with minimal disturbances to the production. Considering the good result and delivery we will likely hire DVel AB for future projects.”
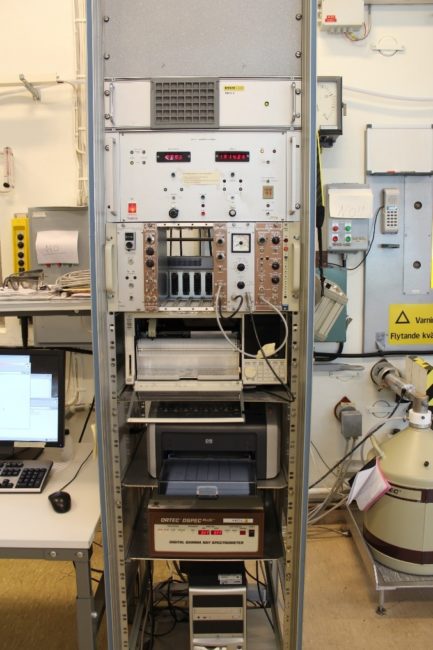
Old system used for gamma scanning to the right.
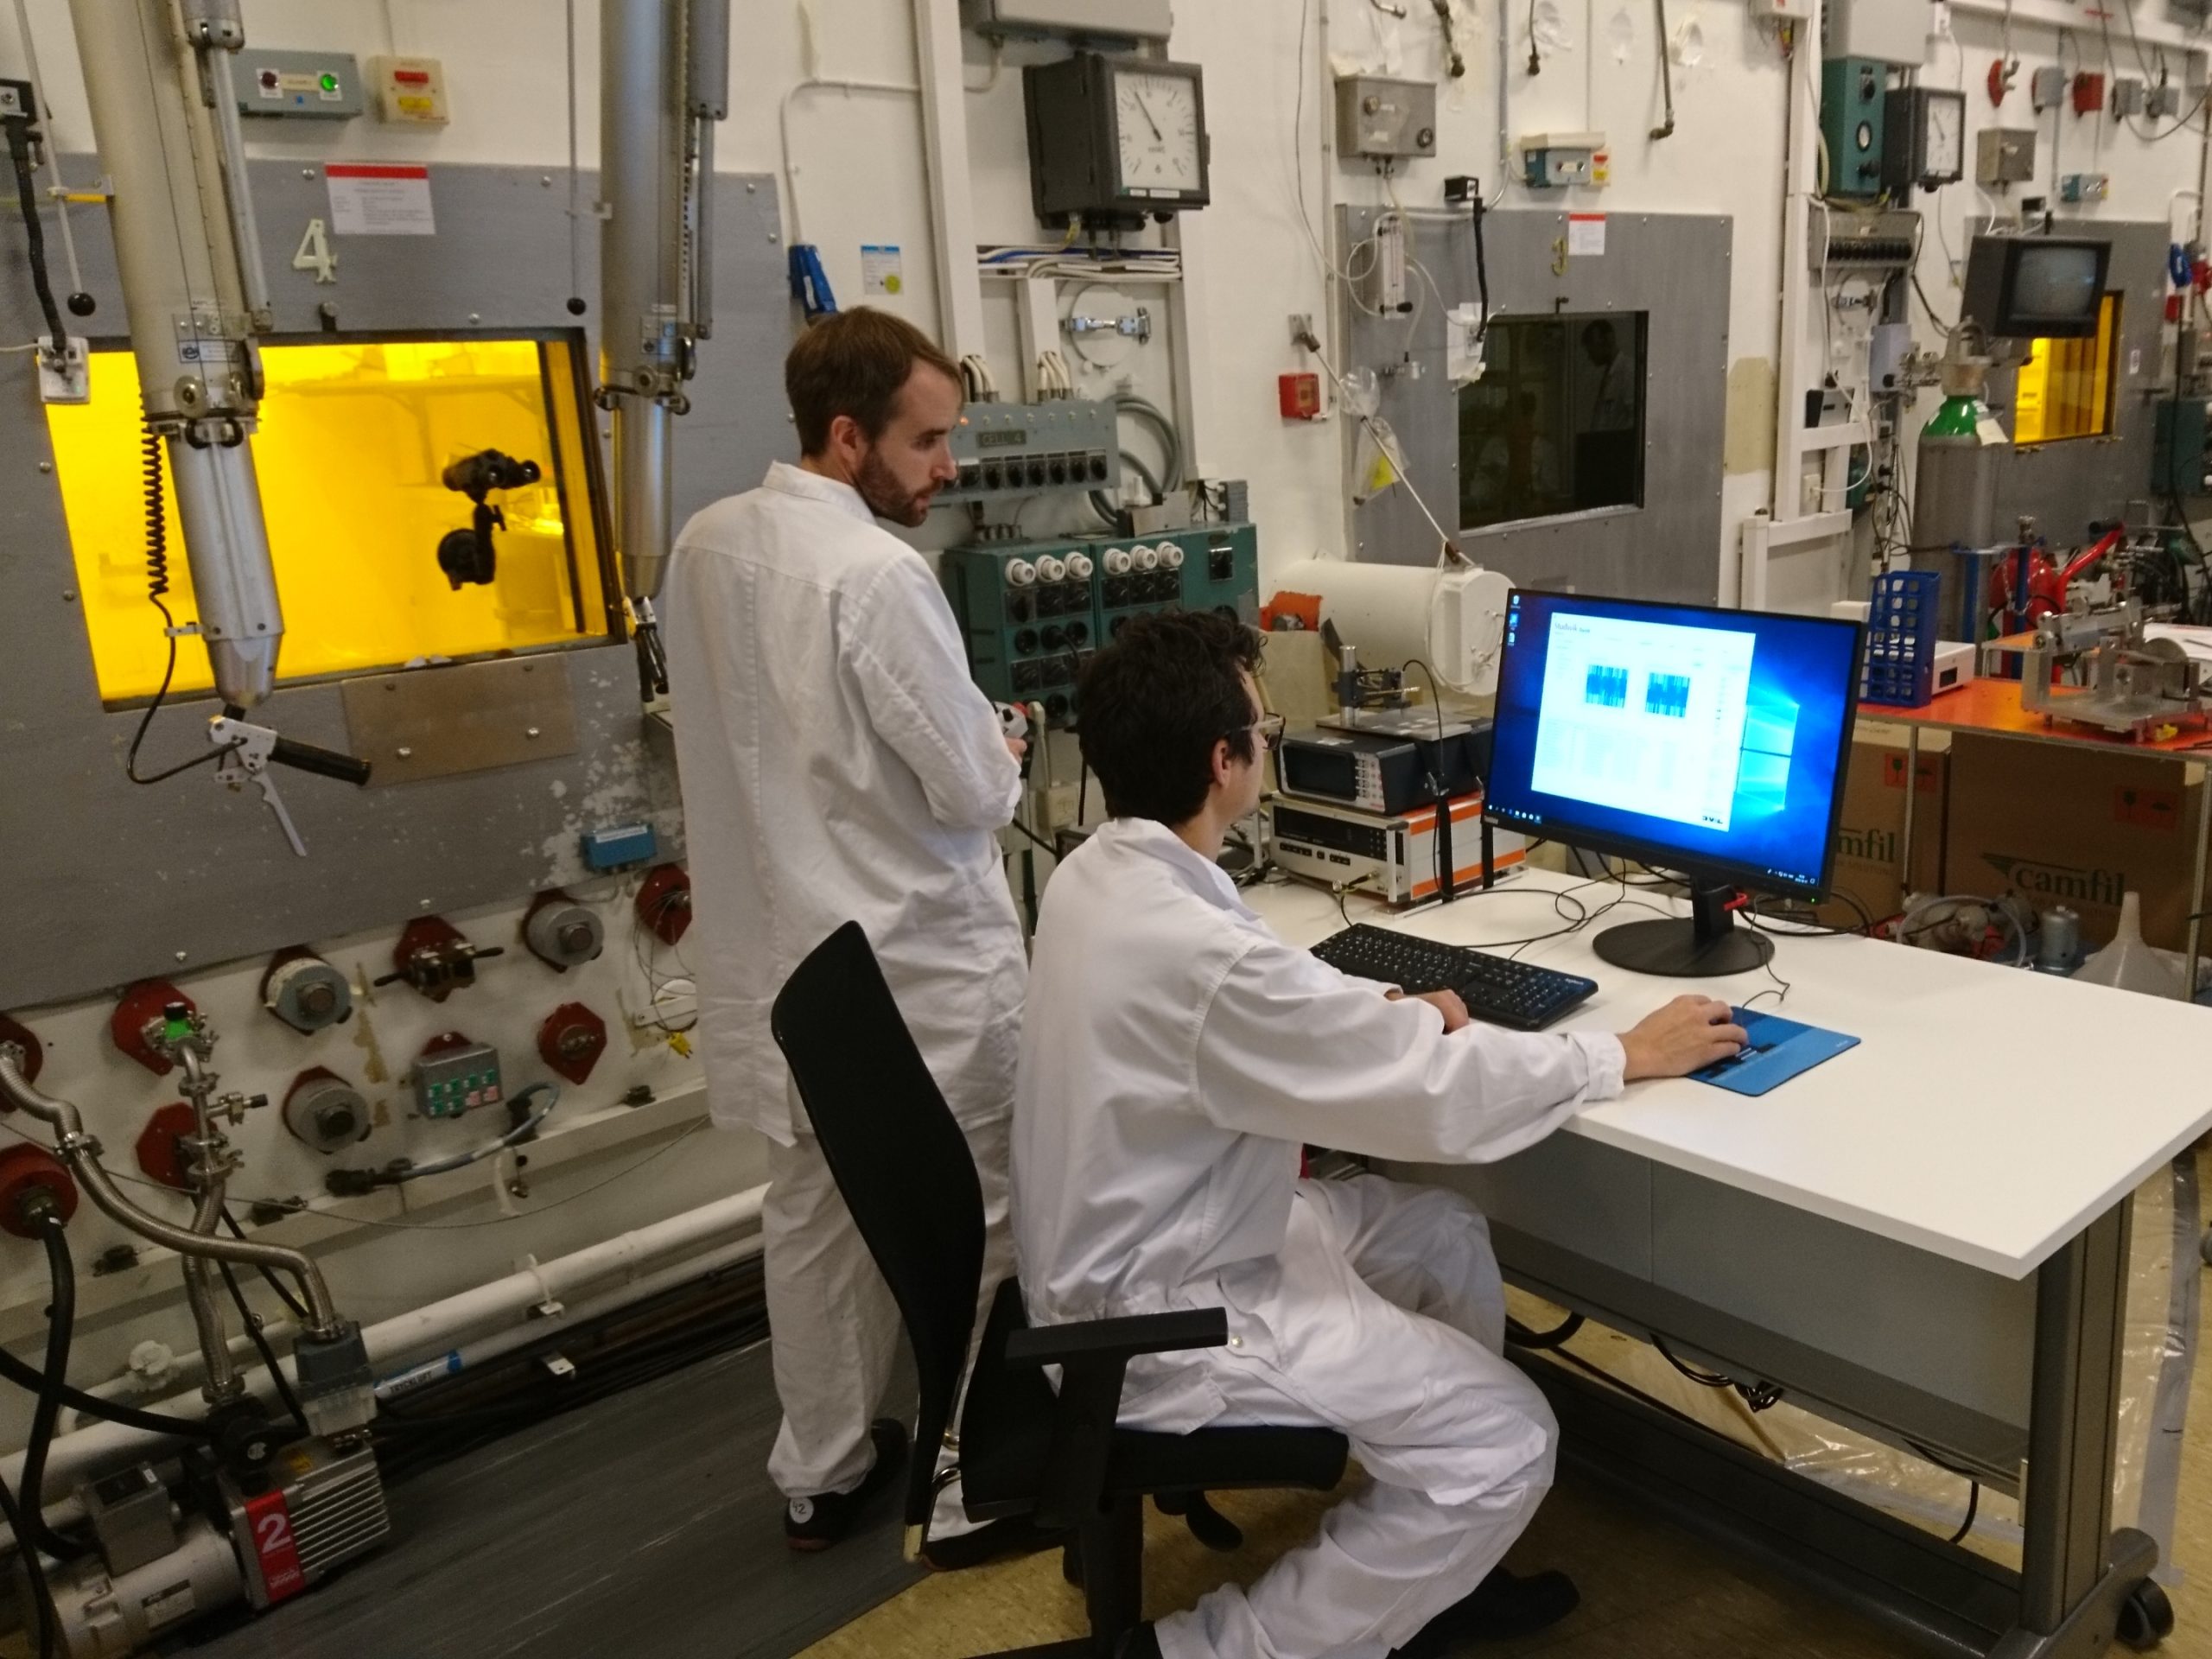
Two of their measurement stations originated from the 90s and needed an upgrade in order to ensure reliably operation. The first station, used for axial and circumferential integrated gamma scanning and burnup determination, can be seen here on the left. The second station is used to measure rod profiles, oxide layer thickness and to detect cracks and defect in the rod cladding, by means of distance and eddy current probes. The scanning systems of the two stations are constructed using similar hardware.
Any hardware situated inside the hot cell, such as scales, probes and stepper motors are contaminated by the active material handled there. Although possible, it would be expensive both in terms of time and money to replace this equipment, and it should preferably be left as is in the new system. Although the measurement techniques are advanced, it should be possible to operate the stations without a PhD in nuclear physics, i.e. the user interface should be simple and straight forward.
Reliable project plan
Before the project was launched a pre-study was performed with the purpose to deliver a reliable project plan and cost estimation. Much of the time was spent on hunting down equipment capable of interfacing the outdated hardware in the Hot cell. The suggested solution contained the drive stages and detectors identified as able to communicate with the hardware within the Hot cell. A CompactRIO (cRIO) from National Instruments with various IO modules was proposed to handle the communication with the hardware, and an industrial PC was suggested for the main software.

Want to know more about how we can help you?
Safety critical functions
To handle the safety critical parts of the system (one would not like to destroy the measurement probes or stepper motors due to some software bug), functional safety modules NI 9350 were used. These cRIO modules are rated with a Safety Integrity Level (SIL) of 3, which is more than enough for this system. Apart from the project specific safety logics, they continuously monitor the integrity of the connections (short circuitry or cable breach). They have their own FPGA and would be operational even with the cRIO malfunctioning. For more technical information on how the SIL modules were integrated in the project see this blog post.
SoftMotion for soft motion
By using the LabVIEW SoftMotion Module much of the control hardware used in the outdated rig could be omitted (handled in the cRIO instead). The SoftMotion Module makes it easy to adjust acceleration and jerk parameters so that the wear of the stepper motors is minimized. It also enables synchronized movement of the axes, something that comes in handy when spiral shaped fuel rods are to be measured upon.

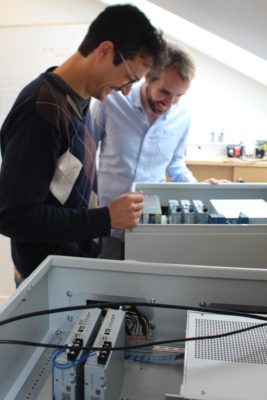
Measurement system development at DVel office to the left.
Simple, fast and precise
As in most measurement systems there is a trade-off between measurement uncertainty and measurement speed. In order to keep the user interface simple, the system dynamically adjusts the sample rate to conform with the current settings for speed and resolution. The operator is guided through calibration and control of scaling parameters and is informed if the system will deliver results within the required tolerance level at the current settings.
To simplify the user interface further, all options that are not required during normal operation are hidden and can only be accessed if the software is started in “advanced mode”. In the advanced mode one can change scaling parameters in case hardware is exchanged, modify or add alarms and monitor signal history and logs for commissioning and error searching purposes.
Integrated hand terminal
To simplify the setup of the sample within the Hot cell, a hand terminal of the type used in CNC equipment has been integrated in the system. With the hand terminal the operator can move the sample in the different dimensions at a high speed or with controlled steps of different magnitudes. The operator can also zero the different axes and emergency stop the system if something goes wrong.
Test model of the hardware in the hot cell
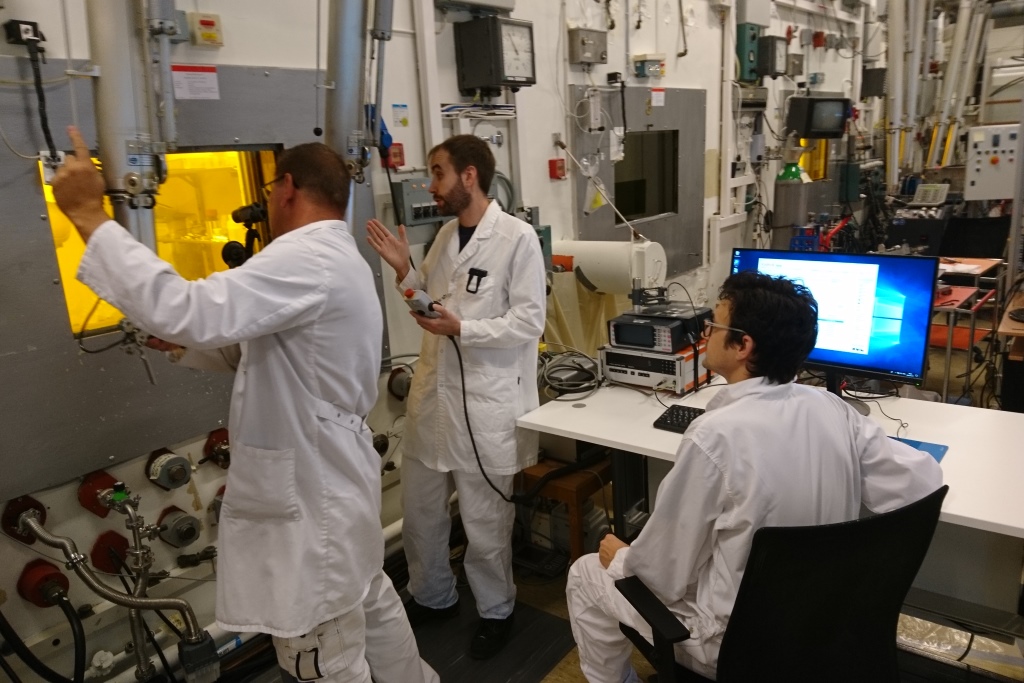
Since some of the hardware were not part of the developed system but supposed to be accessed during commissioning of the system, a simplified model of the hardware in the hot cell was constructed. With the model, most of the functionality of the measurement system could be tested before the system was to be commissioned, greatly reducing the risks and timespan of the commissioning process. In the end the commissioning at the facility only took five days.
Plug and Play commissioning
Since the equipment in the hot cell wasn’t updated, the new system was designed with the same electrical interface to the hot cell as the replaced system. If the new systems would have turned out to not function as expected, Studsvik could have simply unplugged the new systems and plugged in the old systems again, thus greatly reducing the risks of delaying the ongoing measurement campaigns.
Major improvements
With the new system, measurements can be speeded up with a factor of five compared to the old systems. Improvements have been made to increase the reliability of the measurements, and although the systems are capable of more complex task, such as synchronized movement of the different axes and complex configuration of signals and alarms, the graphical user interface has been kept simple.


Riki Virc
CEO
